
本文是Spring源码阅读计划的第二十一篇文章,本文简单介绍Spring WebFlux以及Reactive响应式编程。
Spring WebFlux是不同于SpringMVC+tomcat的Web框架,完全异步和非阻塞,主要体现在:Reactive响应式编程+NettyServer。
一、响应式
啥叫响应式?
我们熟悉的SpringMVC+tomcat的Web框架本质上还是Tomcat为每个client连接分配一个handler,handler线程处理一个请求/连接,这是一个请求/连接一个线程的模型。 其内部经过DispatcherServlet调用到具体的Controller,再返回给客户端结果。这个模式编程简单,理解流程也好理解,但是面对大量客户端请求连接时,Tomcat的线程池会限制系统的吞吐量。而且Handler线程阻塞时候,整个线程无法处理任何任务。
响应式编程 (reactive programming) 是一种基于 数据流 (data stream) 和 变化传递 (propagation of change) 的 声明式 (declarative) 的编程范式。
响应式是基于事件驱动,响应式组件的交互式基于流来传递事件,生产者事件推送给消费者。类似MQ的模式。
Spring WebFlux是基于Reactive响应式编程的,不是Servlet规范。
Spring WebFlux的Reactor响应式编程相关一些核心类:
-
Mono:代表0-1个元素的发布者(Publisher)
-
Flux: 代表0-N个元素的发布者(Publisher)
-
Scheduler:调度器,线程或者线程池。
Mono和Flux的操作都类似于Java8 Stream那样的流式操作,可以组合操作。事件的处理是基于回调,非阻塞的,如Subscriber接口定义如下:
public interface Subscriber<T> {
    /**
     * Invoked after calling {@link Publisher#subscribe(Subscriber)}.
     * <p>
     * No data will start flowing until {@link Subscription#request(long)} is invoked.
     * <p>
     * It is the responsibility of this {@link Subscriber} instance to call {@link Subscription#request(long)} whenever more data is wanted.
     * <p>
     * The {@link Publisher} will send notifications only in response to {@link Subscription#request(long)}.
     *
     * @param s
     *            {@link Subscription} that allows requesting data via {@link Subscription#request(long)}
     */
    public void onSubscribe(Subscription s);

    /**
     * Data notification sent by the {@link Publisher} in response to requests to {@link Subscription#request(long)}.
     *
     * @param t the element signaled
     */
    public void onNext(T t);

    /**
     * Failed terminal state.
     * <p>
     * No further events will be sent even if {@link Subscription#request(long)} is invoked again.
     *
     * @param t the throwable signaled
     */
    public void onError(Throwable t);

    /**
     * Successful terminal state.
     * <p>
     * No further events will be sent even if {@link Subscription#request(long)} is invoked again.
     */
    public void onComplete();
}
整体来说Reactive是类似于MQ,生产者和消费者之间通过发布/接受消息/事件来交互,而且是push推送式的,避免了poll轮询的消耗。此外组件之间解耦合,比命令式更难分析调用链路和全局上下文,但可以比较容易实现可伸缩性。
下面简单分析一下WebFlux的启动流程。Spring Cloud Gateway是基于WebFlux的。
二、Spring WebFlux启动流程
2.1 启动和创建WebServer
我们以一个简单的gateway工程为例:
@SpringBootApplication
@EnableDiscoveryClient
public class GatewayStarter {
    public static void main(String[] args){
        SpringApplication.run(GatewayStarter.class, args);
    }
}
首先参考这篇文章SpringBoot源码阅读二:SpringBoot启动流程,我们进入deduceFromClasspath方法:
static WebApplicationType deduceFromClasspath() {
                            //
		if (ClassUtils.isPresent(WEBFLUX_INDICATOR_CLASS, null) && !ClassUtils.isPresent(WEBMVC_INDICATOR_CLASS, null)
				&& !ClassUtils.isPresent(JERSEY_INDICATOR_CLASS, null)) {
			return WebApplicationType.REACTIVE;
		}
		for (String className : SERVLET_INDICATOR_CLASSES) {
			if (!ClassUtils.isPresent(className, null)) {
				return WebApplicationType.NONE;
			}
		}
		return WebApplicationType.SERVLET;
	}
这里的gateway工程导入了DispatcherHandler类,因此这里的Web类型是WebApplicationType.REACTIVE。
然后继续跟踪执行流程:
	/**
	 * Strategy method used to create the {@link ApplicationContext}. By default this
	 * method will respect any explicitly set application context or application context
	 * class before falling back to a suitable default.
	 * @return the application context (not yet refreshed)
	 * @see #setApplicationContextClass(Class)
	 */
	protected ConfigurableApplicationContext createApplicationContext() {
		Class<?> contextClass = this.applicationContextClass;
		if (contextClass == null) {
			try {
				switch (this.webApplicationType) {
				case SERVLET:
					contextClass = Class.forName(DEFAULT_SERVLET_WEB_CONTEXT_CLASS);
					break;
				case REACTIVE:
					contextClass = Class.forName(DEFAULT_REACTIVE_WEB_CONTEXT_CLASS);
					break;
				default:
					contextClass = Class.forName(DEFAULT_CONTEXT_CLASS);
				}
			}
			catch (ClassNotFoundException ex) {
				throw new IllegalStateException(
						"Unable create a default ApplicationContext, please specify an ApplicationContextClass", ex);
			}
		}
		return (ConfigurableApplicationContext) BeanUtils.instantiateClass(contextClass);
	}
此次创建的ApplicationContext是AnnotationConfigReactiveWebServerApplicationContext。
然后就是ApplicationContext的refresh方法,加载BeanDefinition,创建Bean等流程。
继续跟踪run方法,来到ReactiveWebServerApplicationContext#onfresh方法,如下:
	@Override
	protected void onRefresh() {
		super.onRefresh();
		try {
			createWebServer();
		}
		catch (Throwable ex) {
			throw new ApplicationContextException("Unable to start reactive web server", ex);
		}
	}

	private void createWebServer() {
		ServerManager serverManager = this.serverManager;
		if (serverManager == null) {
			String webServerFactoryBeanName = getWebServerFactoryBeanName();
			ReactiveWebServerFactory webServerFactory = getWebServerFactory(webServerFactoryBeanName);
			boolean lazyInit = getBeanFactory().getBeanDefinition(webServerFactoryBeanName).isLazyInit();
			this.serverManager = ServerManager.get(webServerFactory, lazyInit);
		}
		initPropertySources();
	}
这里创建的WebServer不是内嵌的Tomcat了。跟踪ReactiveWebServerFactory#getWebServer方法,gateway默认创建的WebServer是NettyWebServer:
@Override
	public WebServer getWebServer(HttpHandler httpHandler) {
		HttpServer httpServer = createHttpServer();
		ReactorHttpHandlerAdapter handlerAdapter = new ReactorHttpHandlerAdapter(httpHandler);
		NettyWebServer webServer = new NettyWebServer(httpServer, handlerAdapter, this.lifecycleTimeout);
		webServer.setRouteProviders(this.routeProviders);
		return webServer;
	}
因此Gateway项目应该是使用Netty接受客户端请求连接。
我们在回到run方法流程,来到ReactiveWebServerApplicationContext#finishRefresh方法:
@Override
	protected void finishRefresh() {
		super.finishRefresh();
		WebServer webServer = startReactiveWebServer();
		if (webServer != null) {
			publishEvent(new ReactiveWebServerInitializedEvent(webServer, this));
		}
	}
上面的onRefresh是创建NettyWebServer,这里的finishRefresh则是启动NettyWebServer。
到这里,基本可以确定WebFlux或者gateway底层本质还是使用Netty来接受客户端请求和处理请求。
2.1 启动WebSever
我们进入startReactiveWebServer方法:
private DisposableServer startHttpServer() {
		HttpServer server = this.httpServer;
		if (this.routeProviders.isEmpty()) {
			server = server.handle(this.handlerAdapter);
		}
		else {
			server = server.route(this::applyRouteProviders);
		}
		if (this.lifecycleTimeout != null) {
			return server.bindNow(this.lifecycleTimeout);
		}
		return server.bindNow();
	}
继续追踪,来到HttpServer#bindNow方法:
public final DisposableServer bindNow(Duration timeout) {
    Objects.requireNonNull(timeout, "timeout");
    try {
        return Objects.requireNonNull(bind().block(timeout), "aborted");
    }
    catch (IllegalStateException e) {
        if (e.getMessage().contains("blocking read")) {
            throw new IllegalStateException("HttpServer couldn't be started within "
                    + timeout.toMillis() + "ms");
        }
        throw e;
    }
}
再来到HttpServerBind的bind绑定方法:
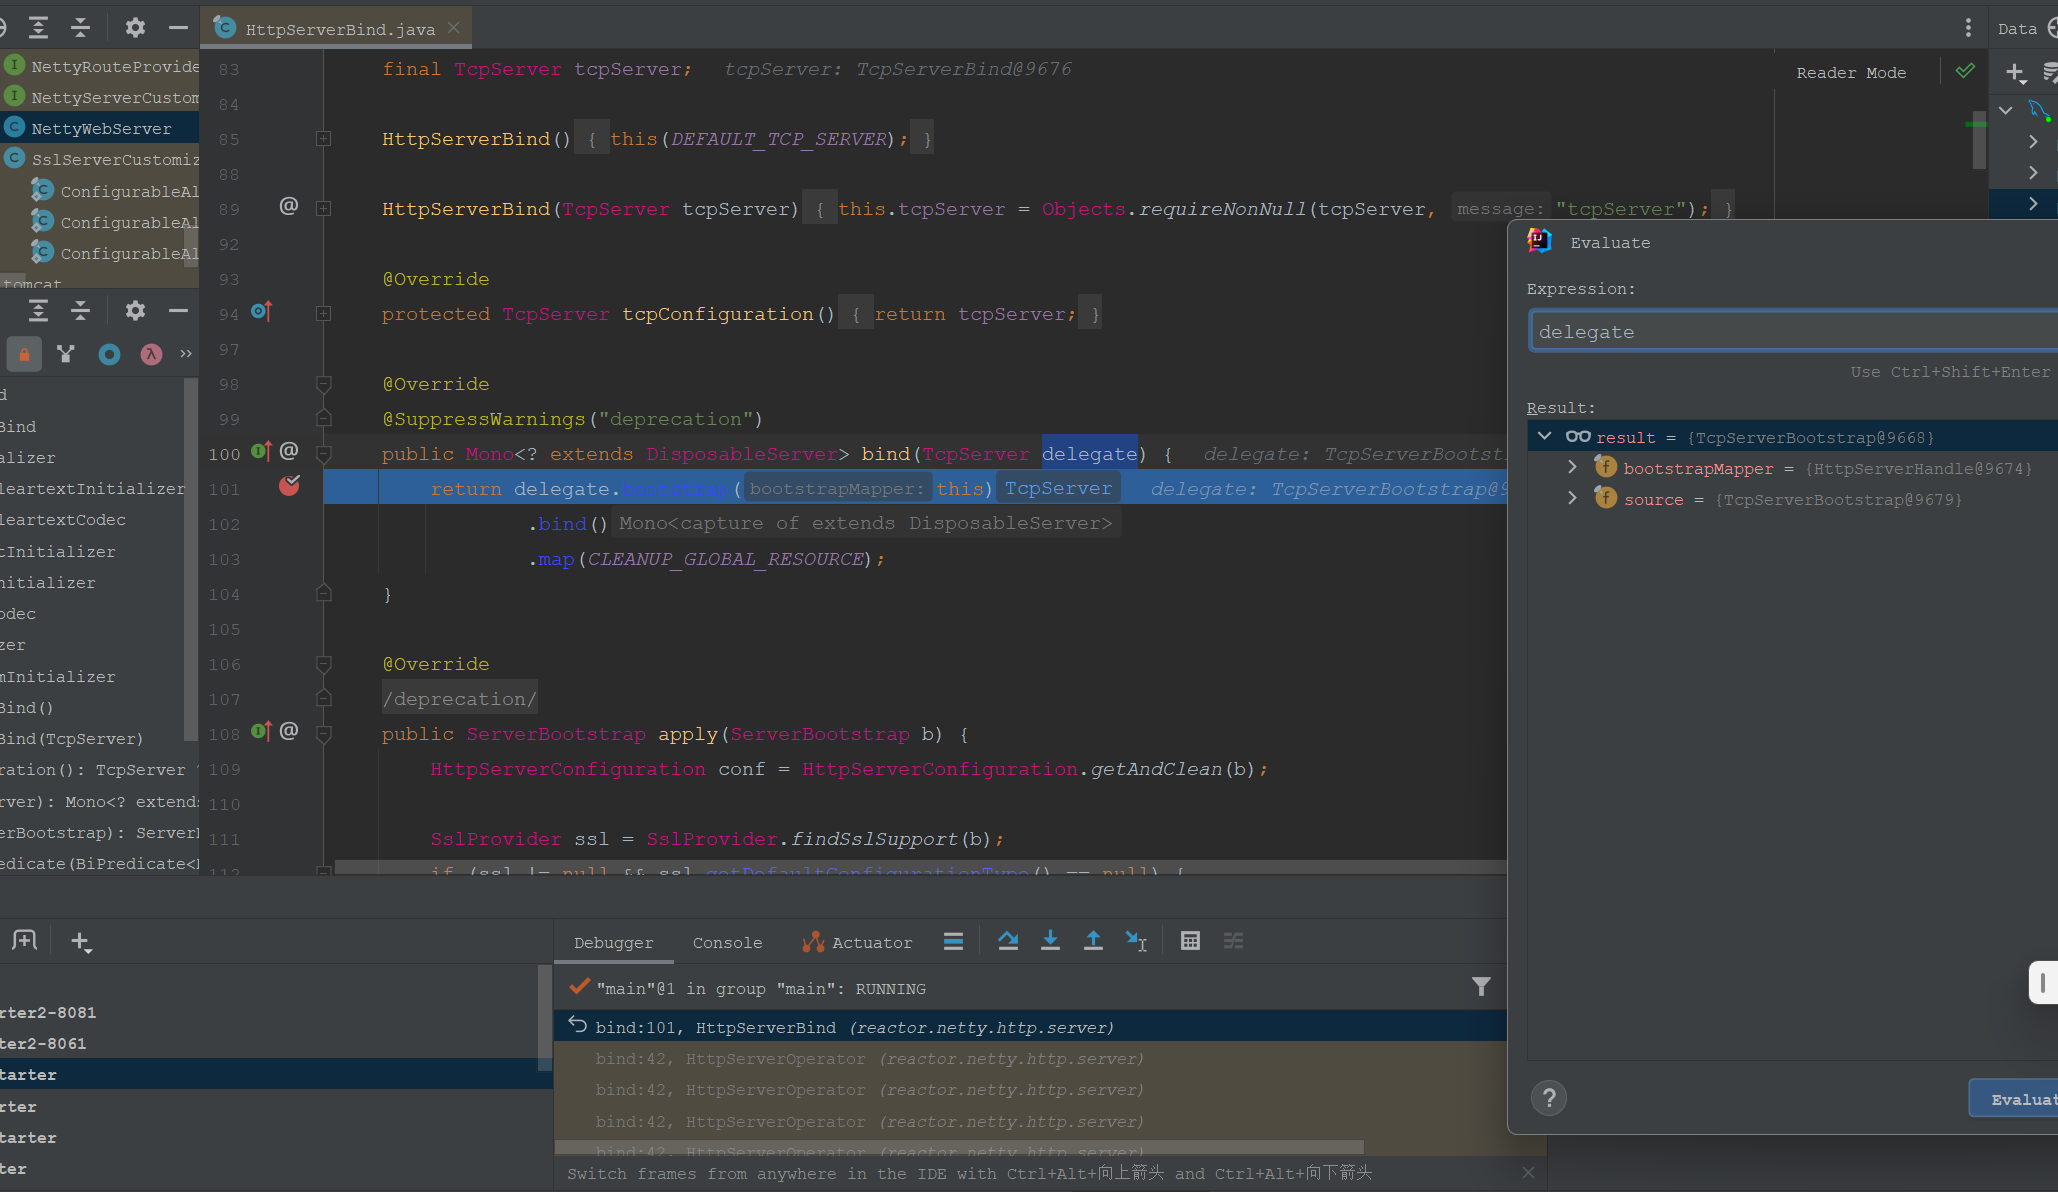
	@Override
	@SuppressWarnings("deprecation")
	public Mono<? extends DisposableServer> bind(TcpServer delegate) {
		return delegate.bootstrap(this)
		               .bind()
		               .map(CLEANUP_GLOBAL_RESOURCE);
	}
这里执行委派类TcpServer的绑定方法。
再进入TcpServer的bind方法。
	/**
	 * Binds the {@link TcpServer} and returns a {@link Mono} of {@link DisposableServer}. If
	 * {@link Mono} is cancelled, the underlying binding will be aborted. Once the {@link
	 * DisposableServer} has been emitted and is not necessary anymore, disposing the main server
	 * loop must be done by the user via {@link DisposableServer#dispose()}.
	 *
	 * If updateConfiguration phase fails, a {@link Mono#error(Throwable)} will be returned;
	 *
	 * @return a {@link Mono} of {@link DisposableServer}
	 */
	public final Mono<? extends DisposableServer> bind() {
		ServerBootstrap b;
		try{
			b = configure();
		}
		catch (Throwable t){
			Exceptions.throwIfJvmFatal(t);
			return Mono.error(t);
		}
		return bind(b);
	}
这里就是使用Netty的ServerBootstrap创建MainReactor和SubReactor了。
继续来到TcpServerRunOn#configure方法
	@SuppressWarnings("deprecation")
	static void configure(ServerBootstrap b,
			boolean preferNative,
			LoopResources resources) {

		EventLoopGroup selectorGroup = resources.onServerSelect(preferNative);
		EventLoopGroup elg = resources.onServer(preferNative);

		b.group(selectorGroup, elg)
		 .channel(resources.onServerChannel(elg));
	}
这里就是MainEventLoop和WorkerEventLoop,默认的Netty的线程数是mainReactor(Main)是1线程,subReactor(Worker)是逻辑核心数量.
到这里Netty的MainEventLoop和WorkerEventLoop就创建完成,下面继续来到bind方法。
进入TcpServerBind的bind方法:
@Override
	public Mono<? extends DisposableServer> bind(ServerBootstrap b) {
		SslProvider ssl = SslProvider.findSslSupport(b);
		if (ssl != null && ssl.getDefaultConfigurationType() == null) {
			ssl = SslProvider.updateDefaultConfiguration(ssl, SslProvider.DefaultConfigurationType.TCP);
			SslProvider.setBootstrap(b, ssl);
		}

		if (b.config()
		     .group() == null) {

			TcpServerRunOn.configure(b, LoopResources.DEFAULT_NATIVE, TcpResources.get());
		}

		return Mono.create(sink -> {
			ServerBootstrap bootstrap = b.clone();

			ConnectionObserver obs = BootstrapHandlers.connectionObserver(bootstrap);
			ConnectionObserver childObs =
					BootstrapHandlers.childConnectionObserver(bootstrap);
			ChannelOperations.OnSetup ops =
					BootstrapHandlers.channelOperationFactory(bootstrap);

			convertLazyLocalAddress(bootstrap);

			BootstrapHandlers.finalizeHandler(bootstrap, ops, new ChildObserver(childObs));

			ChannelFuture f = bootstrap.bind();

			DisposableBind disposableServer = new DisposableBind(sink, f, obs, bootstrap);
			f.addListener(disposableServer);
			sink.onCancel(disposableServer);
		});
	}
这行代码“ ChannelFuture f = bootstrap.bind();”就是Netty的ServerBootstrap的绑定方法。
虽然Mono这些reactive范式的源码没有命令式那样易于分析,整体上底层还是使用Netty作为WebSever,使用Netty接受客户端请求连接和处理请求连接。
三、参考材料
- spring-cloud-gateway源码(版本2.2.9)